Charter 400 Project - Enamelling the Front of the Plaques
Posted on
Following on from the last post, the enamelled copper shapes are now placed once again in the acid bath until the fire scale has all been removed. This means that none it can get into the enamel powder and appear as small black specks in an otherwise pure, clean colour.

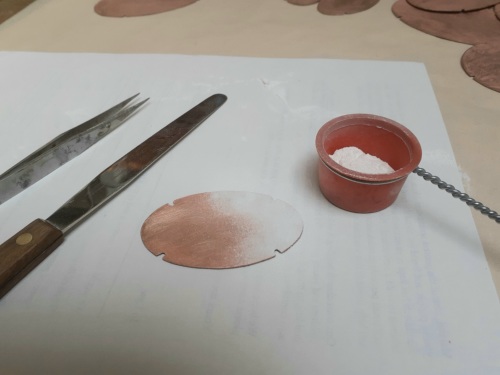
When they have been rinsed and dried the plaques are ready to be enamelled on the front face. I have chosen to use white and apply colours later.

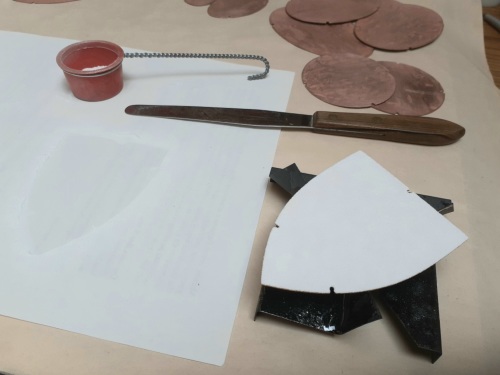
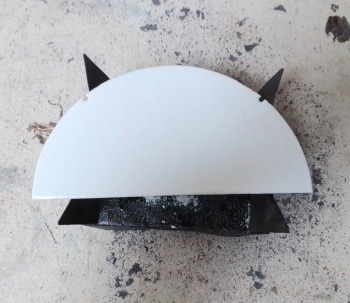
The process is much the same as for the reverse, except the work must be supported in the kiln on a folded metal stand known as a stilt or trivet. This means that the smallest possible area of the enamel on the reverse is in contact with the stilt, as it will re-melt and stick to it. The enamelled plaque may need to be quickly removed from the stilt whlie it is still hot. as the firing process can cause it to bend. It is placed under a heavy heat resistant weight to flatten it as it cools.

Two or three layers of white enamel are applied and fired carefully, keeping a eye on the firing time. If the work is in the kiln for too long it can get over-fired, causing it to change colour. White enamel will become greenish and transparent around the edges and this would spread to the whole of the piece the longer it is left in the kiln.
In the next post - Firing the Designs on to the Plaques.

Add a comment: